How To Winterize Your Evaporative Swamp Cooler
Evaporative swamp coolers are a fantastic way to keep your house open and breezy during the summer, but when winter approaches, it’s time to make a critical shift. Winterizing your swamp cooler may not be the most glamorous task, but doing it right is essential for protecting your equipment so it works flawlessly next summer.
This comprehensive guide will walk you through the key steps, demonstrating how to winterize your evaporative swamp cooler. We’ll discuss what winterization is and why it’s necessary, offering a detailed step-by-step approach to getting the job done the right way.
What Is an Evaporative Swamp Cooler, and How Does It Work?
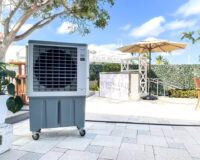
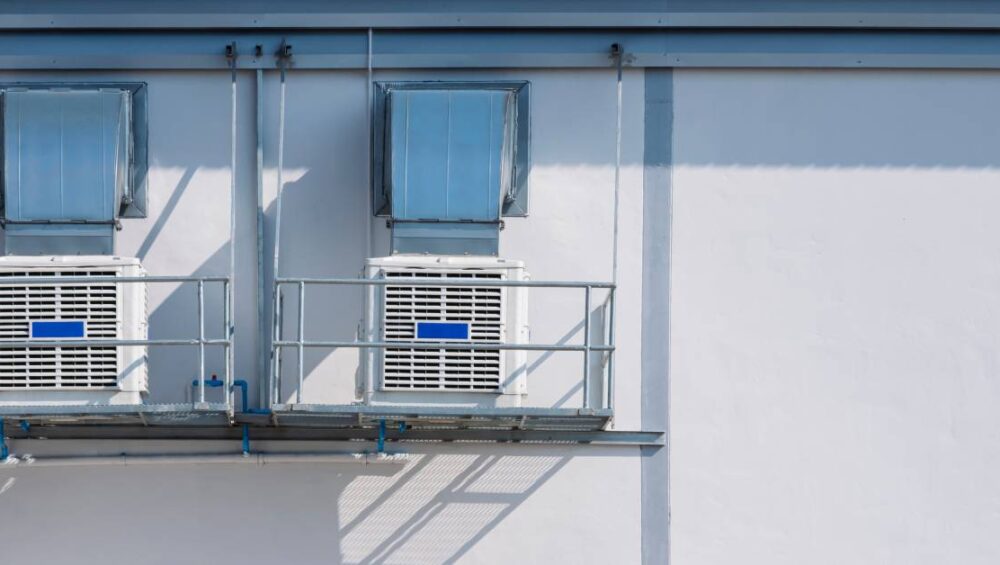
Evaporative swamp coolers, sometimes called desert coolers, are an energy-efficient, eco-friendly alternative to traditional air conditioners. They work by drawing in warm outdoor air and passing it through water-soaked pads. The water evaporates, cooling the air, which is then pumped into your outdoor environment to maintain a cool temperature.
Unlike air conditioners, swamp coolers rely on proper airflow and work best in dry climates where the humidity is low. When maintained properly, they’re economical and fantastic for reducing energy usage. However, when the cold, wet winter rolls in, these coolers become susceptible to damage, especially from freezing water and debris.
Why Winterizing Your Evaporative Swamp Cooler Is Essential
Without winterization, your swamp cooler could face severe damage during cold months. Residual water can freeze inside the system, leading to cracked lines, burst pipes, or damaged cooling pads. External factors like heavy snow, ice, or even falling debris can also harm the cooler if it’s not properly covered.
Additionally, cleaning and prepping your cooler before winter keeps it in good condition. You can avoid foul odors caused by stagnant water or mold when you attempt to restart the cooler next summer. Regular winterization means lower maintenance costs, fewer headaches, and a longer lifespan for your swamp cooler.
Additional Benefits of Proper Winterization
Winterizing is primarily about preventing damage, but there are plenty of other advantages as well. Here’s why it’s worth taking the time to do it right:
- Savings on repairs: Proper winterization minimizes the need for costly fixes by preventing damage to the cooler’s components.
- Readiness for summer: A clean, well-maintained cooler is easier to restart and will likely work more efficiently when summer arrives.
- Consistent performance: By removing debris and buildup, your cooler will deliver steady airflow and cooling power, keeping you comfortable during the hottest days.
Step-by-Step Guide to Winterizing Your Evaporative Swamp Cooler
While the task is fairly straightforward, taking the time to winterize your cooler correctly will save you from costly repairs and inconvenience later. Here are all the steps you need to get started.
1. Turn Off and Disconnect the Water Supply
First, turn off the water supply to your swamp cooler. Locate the shutoff valve connected to the cooler, turning it until it’s tightly closed. This way, you’ll stop more water from entering the cooler during the winter months. Disconnect the water feed line attached to the cooler as an added precaution. Inspect the line for signs of damage, considering a replacement if necessary.
2. Drain the Water From the Cooler and Water Lines
Next, drain all the water from the cooler basin and water distribution lines. This is a critical step, as leftover water could freeze and expand, causing cracks or damage to internal components. Remove the drain plug on the bottom of the cooler. Allow all the water to flow out completely. Check the water tank by taking one of the sides off to confirm that it’s completely empty.
3. Clean the Cooler and Water Distribution System
Now that the system is drained, it’s time to thoroughly clean your cooler. Remove the cooling pads, washing them with water to remove dust and debris. If they’re old or show signs of wear and tear, replace them with new ones.
Clean the water basin with a cloth and mild soap, scrubbing away mineral deposits or residue. Don’t forget to clean the water distribution system, including the spray bar and water pumps, as blockages here could cause performance issues when you restart the system.
4. Cover the Cooler To Protect It From the Elements
Once you’ve properly cleaned and drained your cooler, the last step is to protect it from the harsh winter elements. Invest in a high-quality swamp cooler cover that resists dirt, snow, and ice. Make sure the cover fits snugly to prevent gaps where debris or animals could sneak in. Most cooler covers are weather-resistant and have straps or ties to hold them in place during windy weather.
When To Seek Professional Cleaning Services
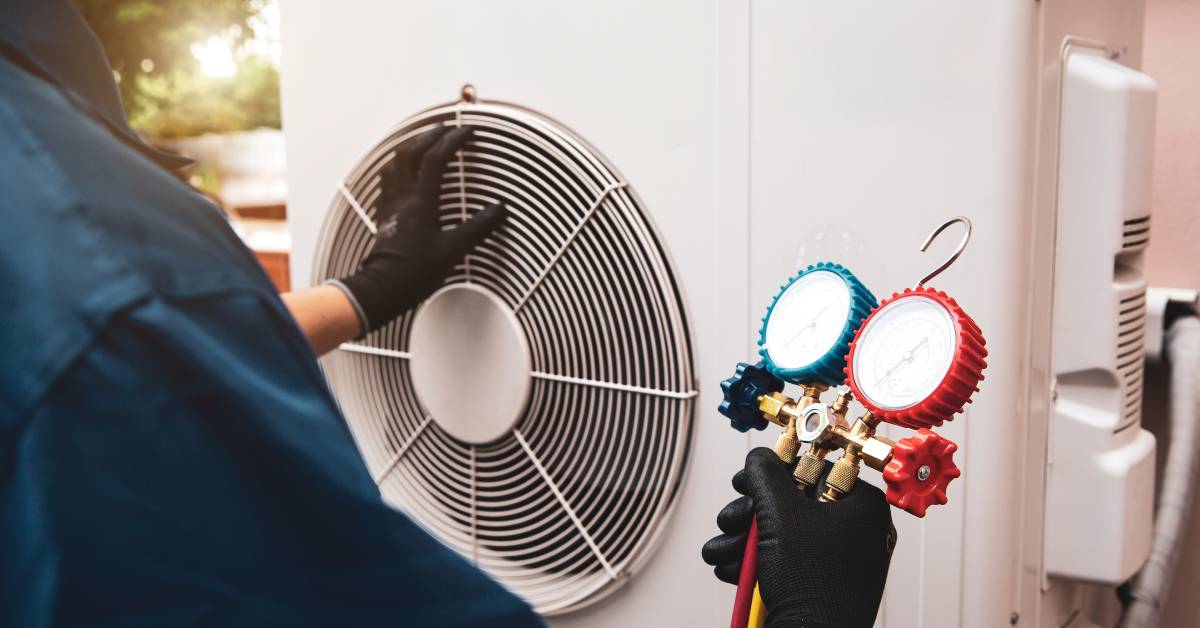
While winterizing your swamp cooler can be a DIY project, in some instances, it’s best to seek professional cleaning services. Consider reaching out to experts in the following situations:
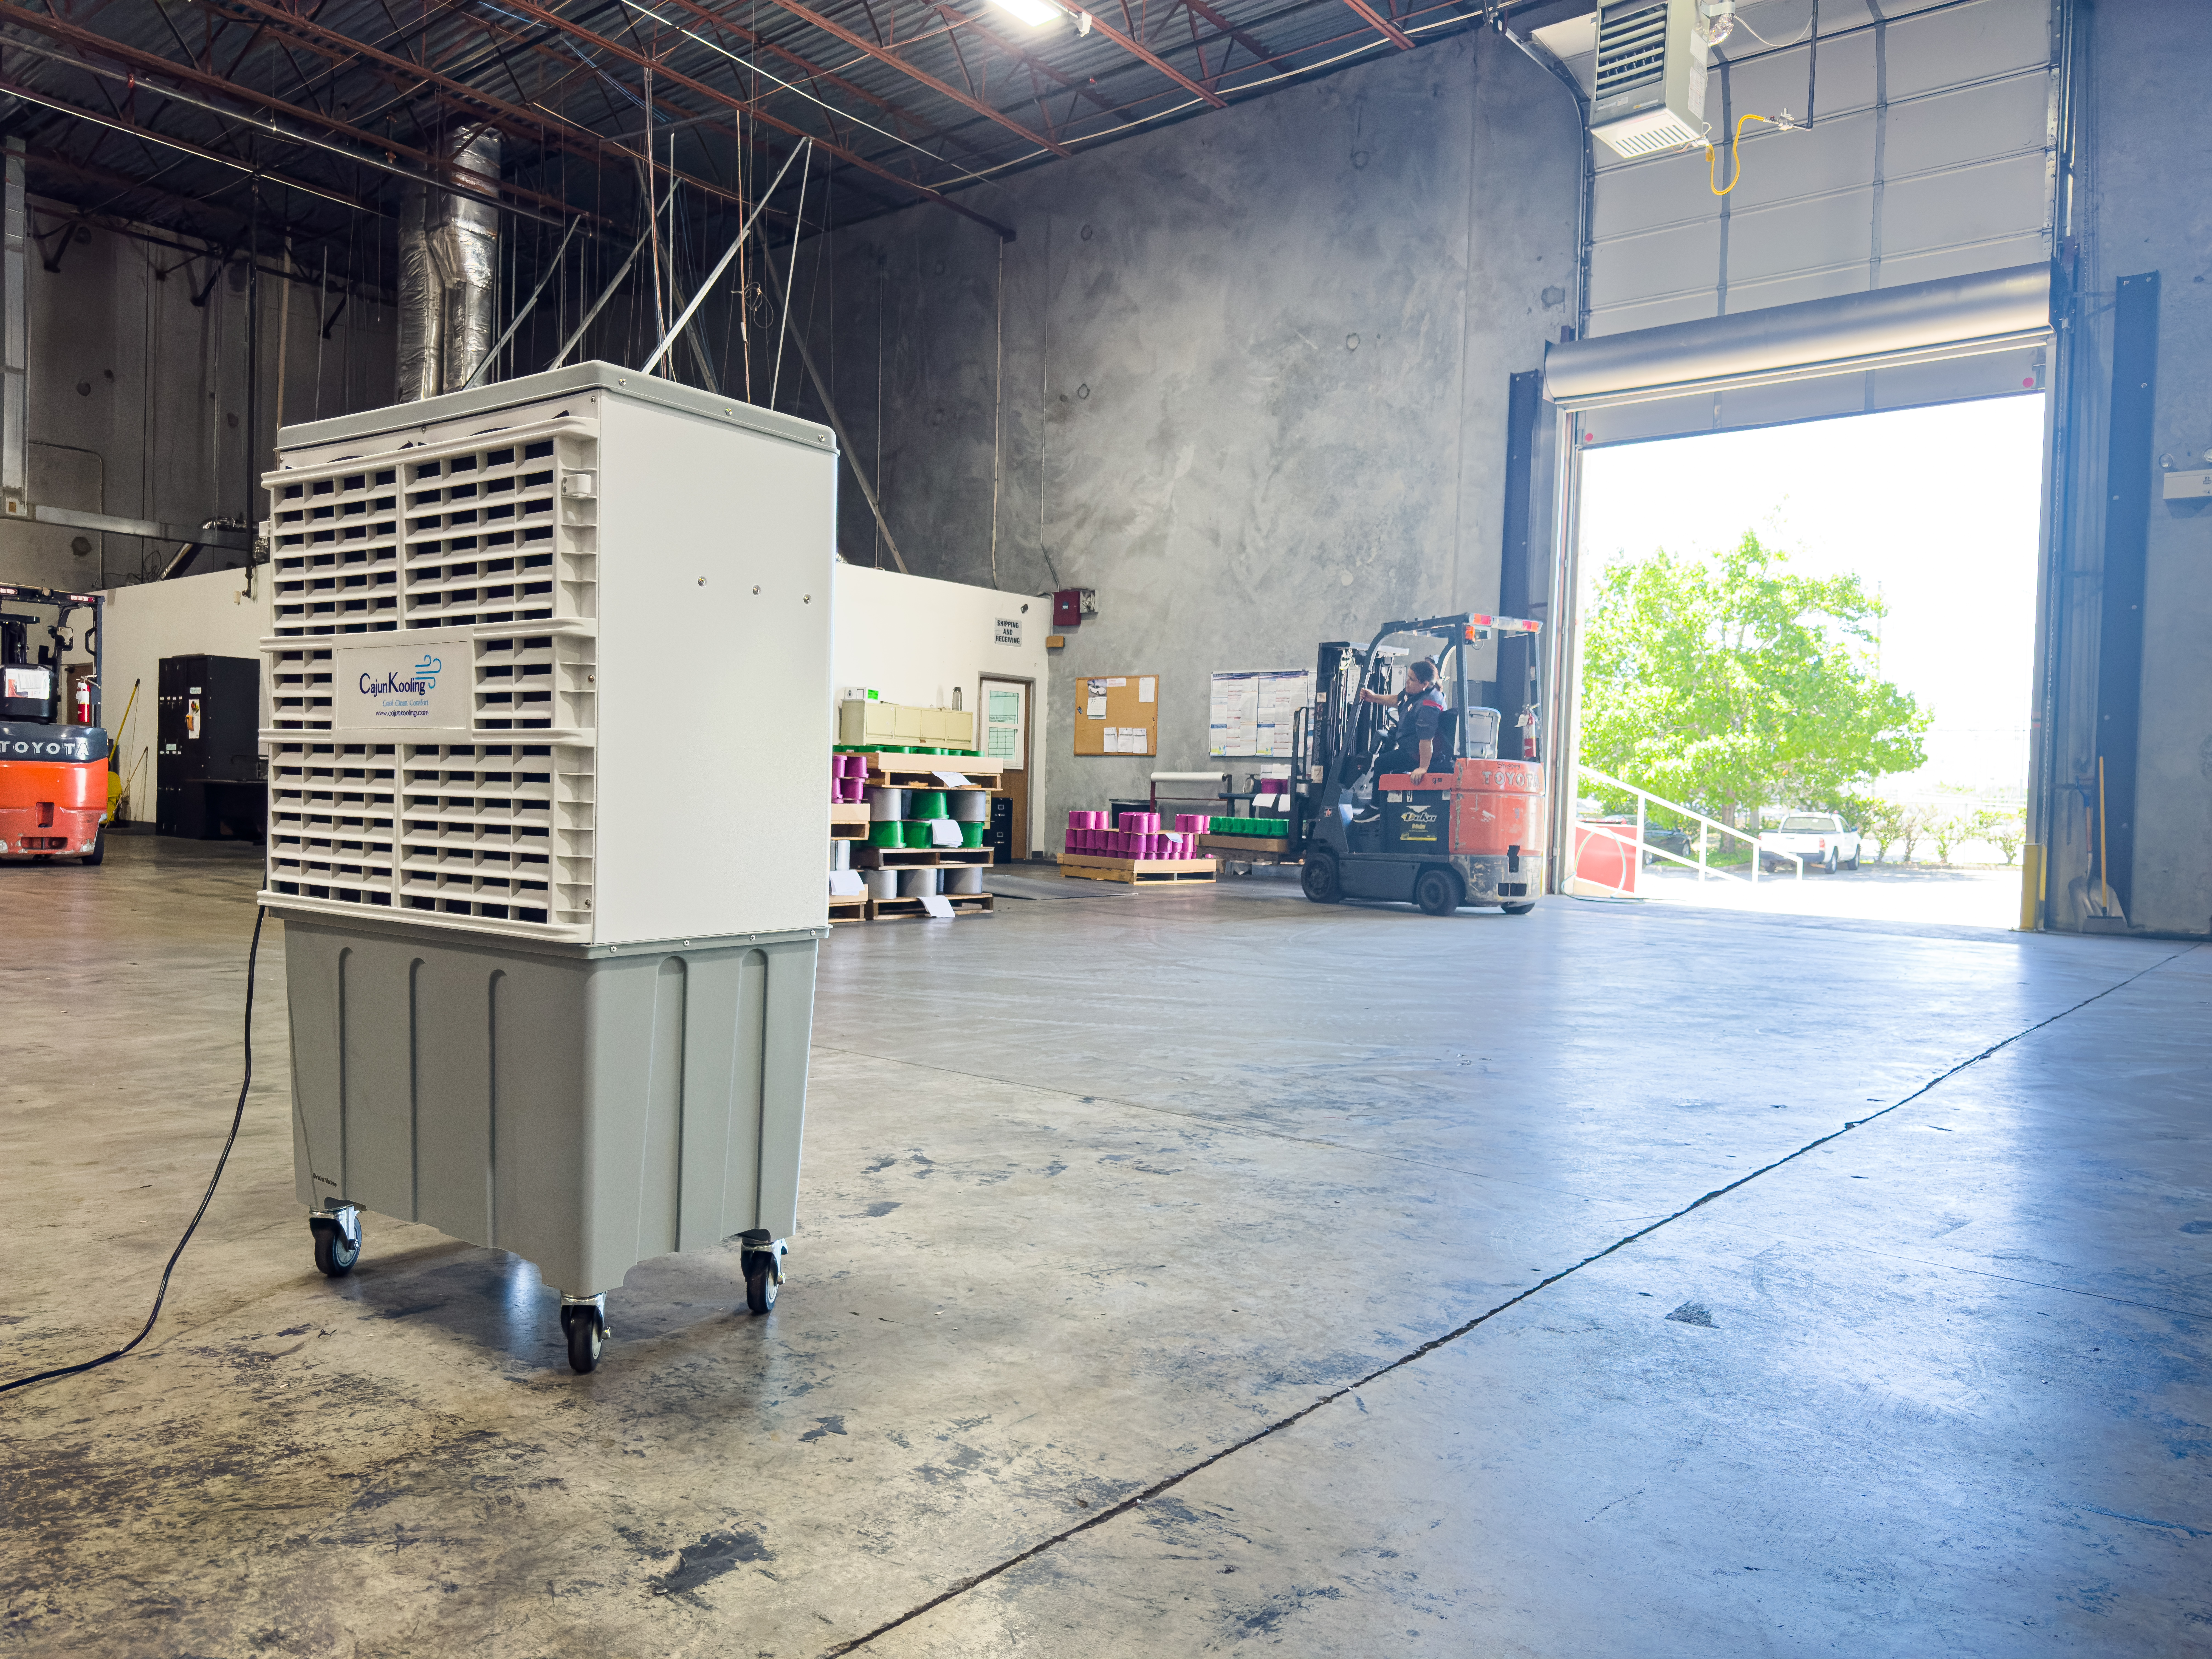
- Complex systems: If you have a larger or more complex cooling system, such as a commercial or industrial swamp cooler, professional cleaning services provide thorough maintenance and optimal performance.
- Limited time or expertise: If you lack the time, resources, or expertise to properly winterize your swamp cooler, hire the pros to take care of the process efficiently and effectively.
- Persistent issues: If you’re experiencing ongoing problems with your swamp cooler, such as poor airflow or unusual odors, professional services have the expertise to diagnose and address underlying problems.
Whether you choose DIY or professional care, proper winterization will keep your swamp cooler in top condition for years to come.
Don’t Skimp on Winterizing Your Swamp Cooler!
Taking the time to learn how to winterize your evaporative swamp cooler is a small effort that comes with big rewards. By following the step-by-step process outlined above, you’ll protect your cooler from damage, avoid common mistakes, and ensure it works like a charm when you need it most.
Looking for quality evaporative cooling systems at a price you can afford? Cajun Kooling offers reliable equipment that won’t let you down, even during the hottest months. With us as your partner, you won’t have to suffer discomfort in your home!


